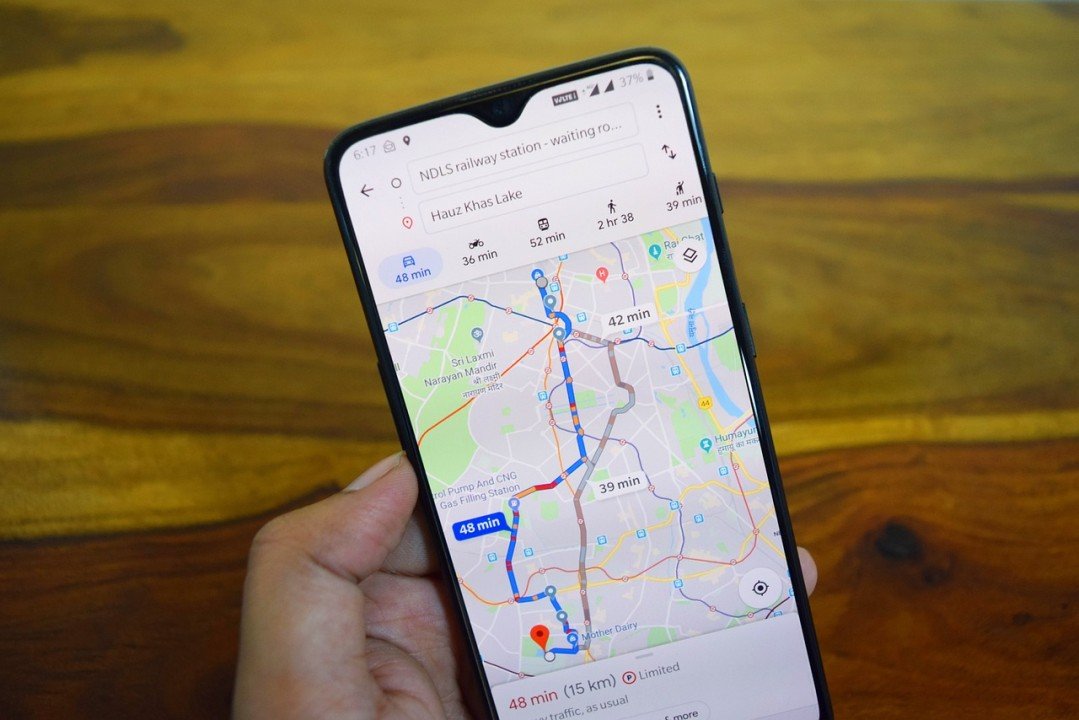
Google Maps, the ubiquitous navigation and mapping platform, is not just a tool for finding your way around; it’s a dynamic community-driven hub where users can share their experiences through photos. Whether you’re an avid traveler, a local explorer, or someone passionate about showcasing the beauty of your surroundings, uploading photos to Google Maps is a rewarding way to contribute. In this comprehensive guide, we’ll delve into the intricacies of the photo upload process, ensuring you master the art of sharing your visual stories on this global platform.
Step 1: Secure Your Digital Presence
Before embarking on your journey to share photos on Google Maps, ensure you’re logged into your Google account. If you don’t have one, create an account to unlock the full potential of photo sharing and interaction on the platform. A Google account provides a secure and personalized space for managing your contributions.
Step 2: Accessing the Cartographic Canvas
Google Maps is accessible both through web browsers and mobile applications. Open your preferred platform and dive into the expansive world of maps. Navigate to the specific location or landmark where you wish to upload photos, using the search bar or interactive map interface to pinpoint your destination.
Step 3: Unveiling the Upload Portal

Once you’ve located your target destination, the next step is to open the dedicated upload portal. Look for the “Add a photo” button – often symbolized by a camera icon – prominently displayed on the location details page. Clicking this gateway initiates your journey into the realm of photo contribution.
Step 4: Navigating the Selection Process
A new window materializes, presenting you with the opportunity to curate your visual narrative. Select your photos meticulously; Google Maps allows you to upload multiple images simultaneously. Ensure that your chosen visuals adhere to the platform’s guidelines regarding content and quality, promoting a positive and enriching experience for all users.
Step 5: Craft Captivating Context
As an optional but highly recommended step, infuse your photos with context by adding captions and details. Share the story behind each image, imparting valuable information or narrating your personal experiences. This not only enhances the engagement of your audience but also contributes to the collective knowledge base within the Google Maps community.
Step 6: The Culmination – Confirm and Upload
Before your visual journey becomes part of the larger Google Maps tapestry, take a moment to review your selections and appended details. Once satisfied, confidently click the “Upload” or “Submit” button, launching your contributions into the digital ether.
Step 7: Patience is a Virtue – Awaiting Approval
Google Maps maintains a stringent review process to ensure uploaded photos align with community standards. Understand that your visuals may not instantaneously grace the map, as they undergo a meticulous review to preserve the quality and accuracy of the platform.
Conclusion: A Visual Odyssey Unleashed
Congratulations, you’ve successfully navigated the intricate steps of uploading photos on Google Maps! Your visual odyssey is now part of a vast tapestry that guides and inspires users around the world. Embrace the power of photo contribution, enrich the mapping experience for others, and embark on a journey of shared exploration through the captivating lens of Google Maps. Start documenting and sharing your adventures today, and let your photos become an integral part of this dynamic global community.


